This post contains affiliate links. If you buy through our links we may earn a small commission — at no extra cost to you. This never influences our recommendations.
A solar panel is only as good as what holds it down. The right roof mount keeps the panel flat and secure, gives it room to breathe, and doesn’t turn into a leak a year later.
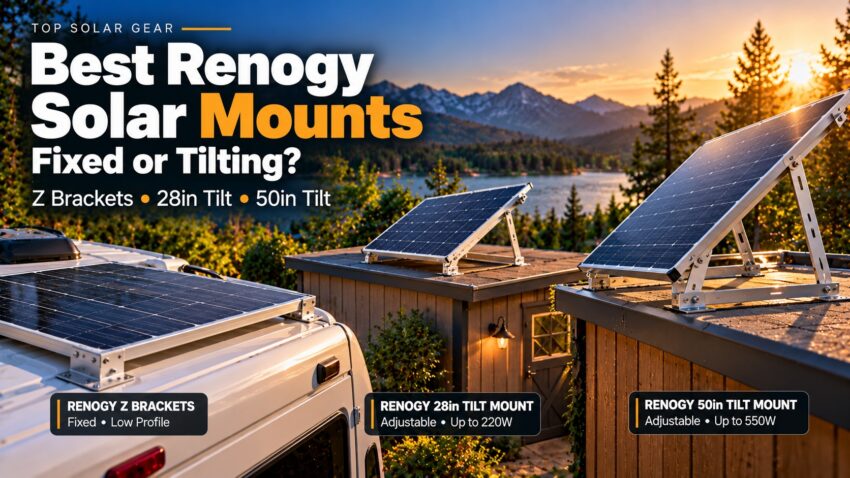
The choice comes down to one question: do you want the panel fixed in place, or tilted toward the sun? Here are three Renogy mounts that cover the common cases, plus tips for keeping the roof dry.
| Mount | Type | Best Surface | Panels |
|---|---|---|---|
| Renogy Z Brackets | Fixed, flat to the roof | RV, van, shed, or wall | 1 panel per set |
| Renogy 28in Adjustable Tilt Mount | Tilting, 0 to 90° | Any flat surface | 1 panel, up to 220W |
| Renogy 50in Adjustable Tilt Mount | Tilting, 0 to 90° | Any flat surface | 1 large panel, up to 550W |
Fixed or Tilting?
Fixed mounts like Z brackets hold the panel close to the roof. They’re quick to install, low-profile, and the best choice for a vehicle you’ll be driving. The trade-off is that the panel can’t follow the sun, so you give up some winter output.
Tilt mounts let you raise the panel toward the sun. As a rule of thumb, a steeper angle helps in winter and a flatter one helps in summer. Tilting works best for stationary setups like cabins, sheds, and parked RVs, where you can adjust the angle by hand.
Bigger panels need a bigger tilt mount, so size the brackets to the panel. Our Renogy solar panels guide covers the panels these mounts are built for.
Our Picks
Renogy Z Brackets (Set of 4)
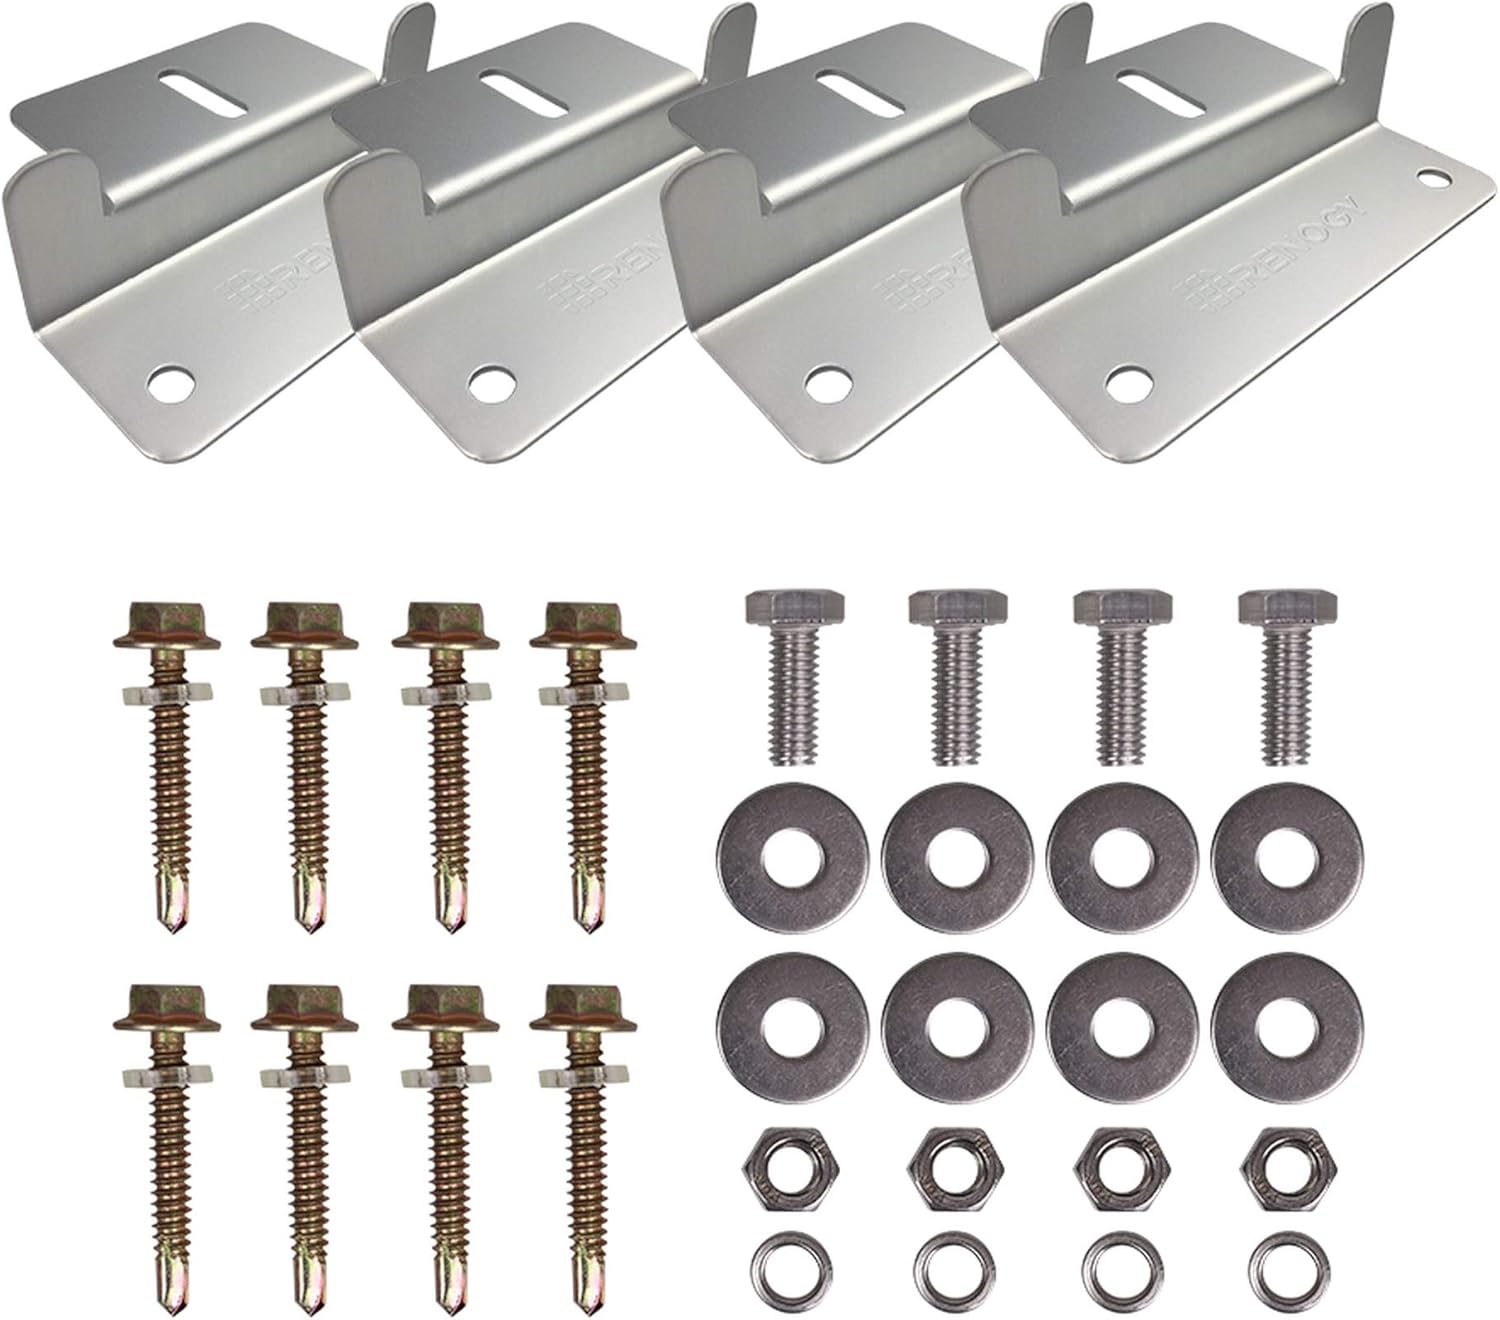
These are the simple, no-fuss option. Four lightweight aluminum Z-shaped brackets hold a single rigid-frame panel flat against a roof or wall. They’re meant for RVs, vans, boats, and sheds, and they work on uneven surfaces too.
Because the panel sits flat, they add almost no wind drag and almost no weight. You do have to drill into the roof, so sealing each hole properly matters.
| Pros | Cons |
|---|---|
| Cheap, light, and low-profile | Fixed angle, so no seasonal adjustment |
| Works on RV, van, and shed roofs | Requires drilling and sealing every mounting point |
| Fits rigid-frame panels | One set per panel |
Best for: RV, van, and trailer owners who want a clean, permanent install on a moving vehicle.
Full details and current price: Renogy Solar Panel Mounting Z Brackets on Amazon
Renogy 28in Adjustable Tilt Mount Brackets
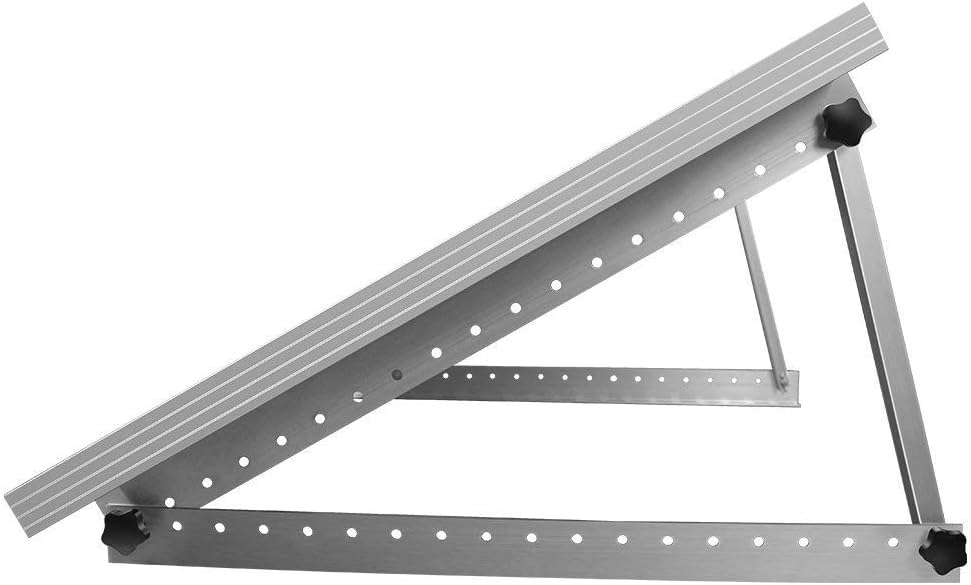
These brackets let you tilt the panel from flat up to 90 degrees, in roughly 5-degree steps. The 28-inch size is meant for panels up to about 220W, which covers common 100W and 200W panels.
They’re made of corrosion-resistant aluminum and fit any flat surface, such as a camper roof, shed, or boat. Each tilt leg folds, so you can lay the panel flat when you’re driving or when a storm is coming. Some buyers report missing or damaged hardware, so count the parts when it arrives.
| Pros | Cons |
|---|---|
| Adjustable from 0 to 90° for better seasonal output | You have to adjust it by hand |
| Folds flat for driving or storms | Sized for one panel up to about 220W |
| Fits RVs, sheds, boats, and other flat surfaces | Some buyers report missing or damaged hardware |
Best for: Parked RVs, cabins, and sheds where you can raise the panel for winter sun.
Full details and current price: Renogy 28in Adjustable Solar Panel Mount Brackets on Amazon
Got a bigger panel? Check the 50-inch version below.
Renogy 50in Adjustable Tilt Mount Brackets
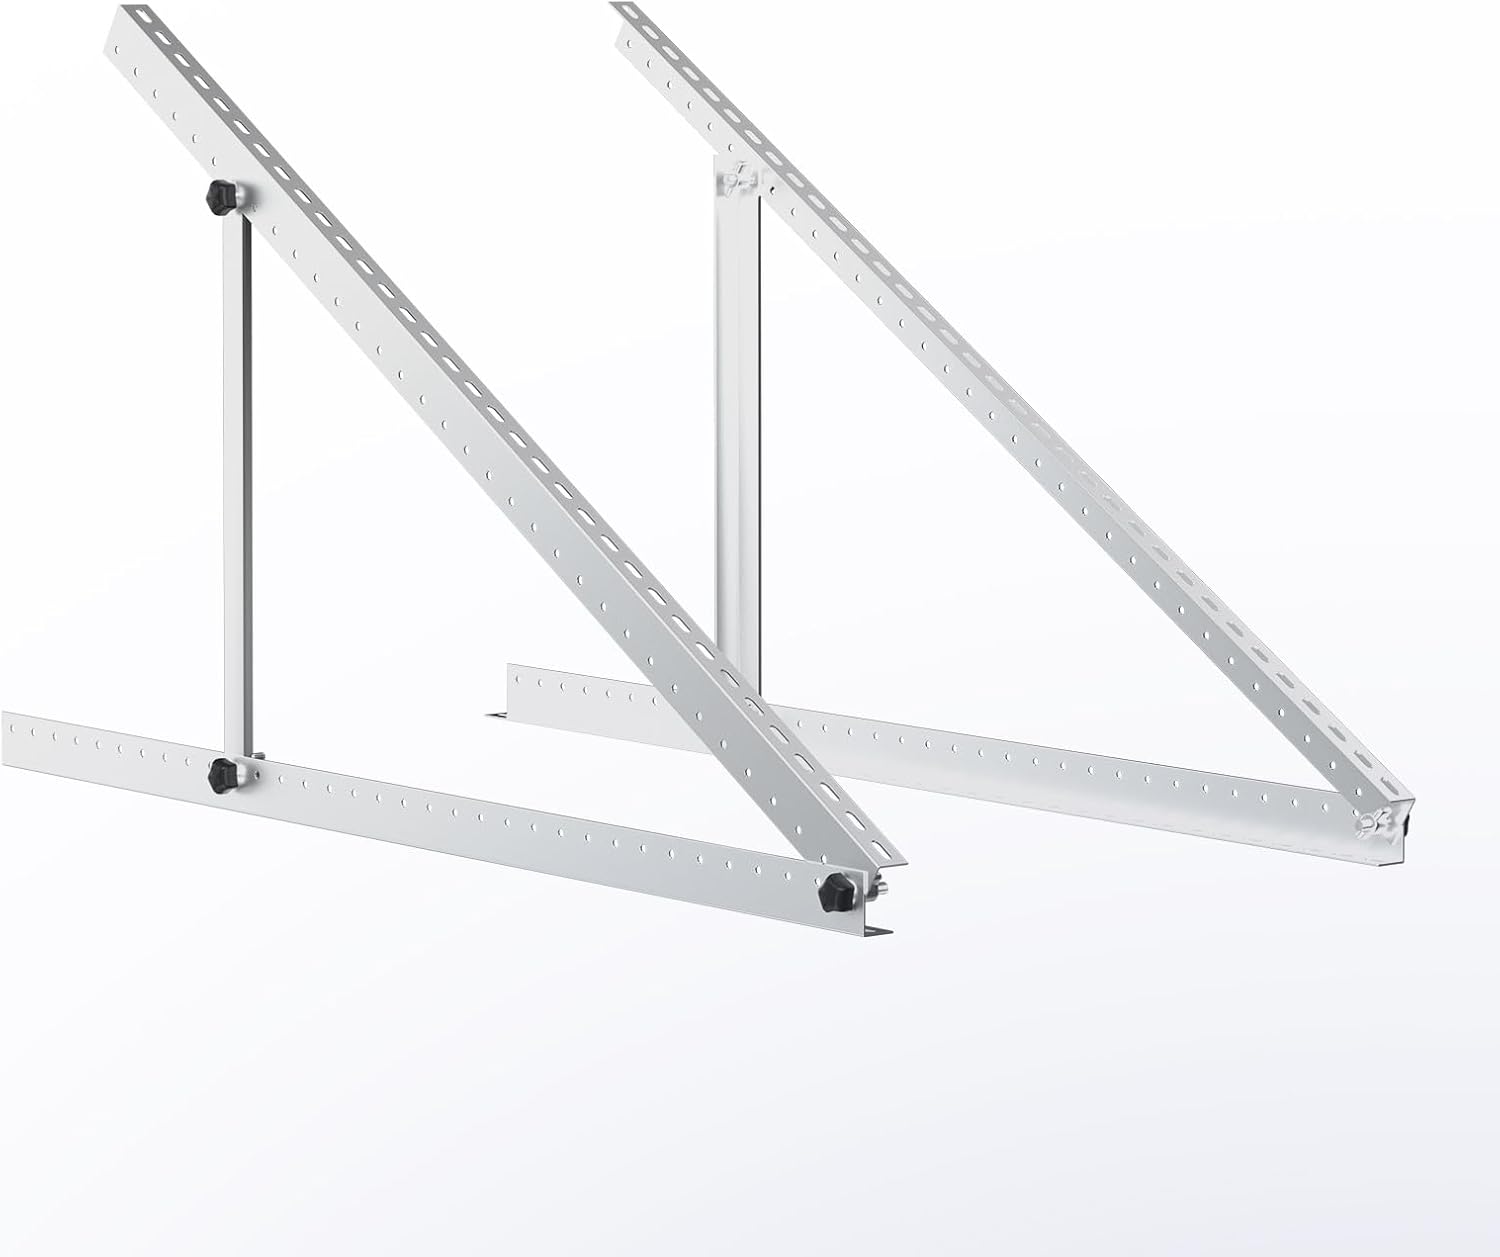
This is the larger version of the tilt mount, built for big panels. It holds a single panel up to about 550W, with the same 0 to 90 degree tilt range as the 28-inch model.
It weighs about 7 pounds, so it’s a sturdier setup for a cabin roof, a shed, or a large RV panel. Like the smaller one, the legs fold so the panel can lie flat.
| Pros | Cons |
|---|---|
| Fits large panels, up to about 550W | Heavier than the 28-inch version, at about 7 lb |
| Adjustable from 0 to 90° for better seasonal output | You have to adjust it by hand, and big panels are awkward to tilt |
| Folds flat for storms or travel | One mount set per panel |
Best for: Large panels on a cabin, shed, or big RV roof where you want to adjust the angle by season.
Full details and current price: Renogy 50in Adjustable Solar Panel Mount Brackets on Amazon
Install Tips That Save You a Leak
Every screw into a roof is a possible leak. Seal each hole and the base of each bracket with a roof-safe sealant. On an RV, a self-leveling lap sealant such as Dicor Self-Leveling Lap Sealant on Amazon is the common choice.
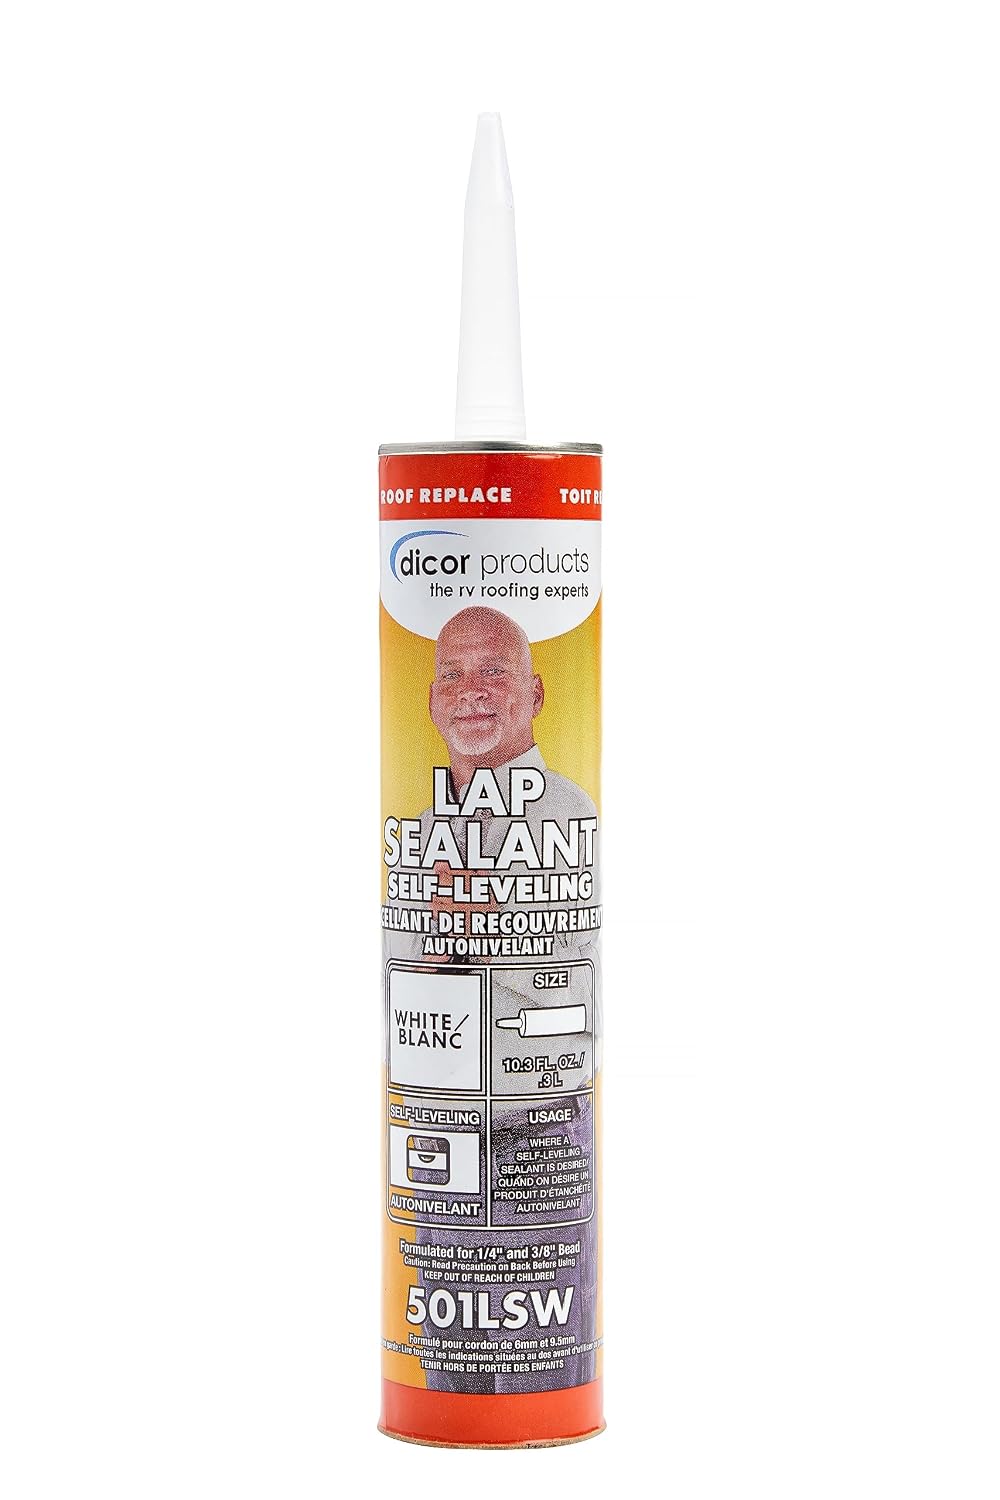
Leave a small gap under the panel for airflow, since heat cuts output. Mount the panel where nothing shades it, even for part of the day.
Don’t forget the wiring. Plan your cable route before you drill, and check our solar panel wire guide for the right gauge. Pair the panel with a solar battery charger or charge controller as needed.
On a house roof, check your local rules and the roof’s structure before you start. For a permanent home array, hiring a professional is often the safer call.
Frequently Asked Questions
What’s the easiest way to mount a solar panel on an RV roof?
Z brackets. They’re simple, light, and low-profile. Seal each screw hole well.
Do I have to drill holes in my roof?
For most bracket mounts, yes. Seal every hole with a roof-safe sealant. If you don’t want to drill, a portable panel you set on the ground is the alternative.
What angle should I tilt my solar panel?
A common rule of thumb is to tilt it close to your latitude, steeper in winter and flatter in summer. For small tilt mounts, even a few degrees toward the sun helps.
Can I tilt an RV solar panel while driving?
No. Lay tilting panels flat before you drive. Wind pressure at highway speed can damage the panel or the mount.
How much space should I leave under the panel?
A small gap helps cool the panel. Z brackets and tilt legs create that space, and the exact amount depends on the mount.
Final Verdict
| Mount | Best For |
|---|---|
| Renogy Z Brackets | RVs, vans, and sheds where a flat, permanent mount is best |
| Renogy 28in Adjustable Tilt Mount | Parked setups that benefit from adjusting the panel angle |
| Renogy 50in Adjustable Tilt Mount | Large panels, up to about 550W, on cabins, sheds, and big RV roofs |
If you drive your setup, go with Z brackets. If it stays parked, a tilt mount earns back its cost in winter. And whichever you choose, seal every hole, because a leak costs far more than the bracket.